Zero Drop Transition Protocol: From 10mm Drop to Full Barefoot, Week by Week
The question I get most about zero drop shoes isn’t “which one should I buy?”, it’s “how long does the transition take without getting injured?”. The honest answer: it depends on the phase you’re in, not the date on the calendar. Here’s the full protocol I follow and recommend, from a conventional 8-10mm drop shoe all the way to full barefoot, with weeks, rough mileage, and the signs that tell you when to stop.
If you already run in cushioned zero-drop shoes (like Altra) and want to make the final jump to full barefoot, this post gives you the full map; for the day-by-day of that last phase, I have a detailed diary here: transitioning from cushioned natural footwear to full barefoot.
Why the transition happens in phases, not all at once
The most expensive mistake I keep seeing: jumping from a 10mm drop shoe straight to full barefoot because “I’m already fit and run a lot.” Cardiovascular fitness has nothing to do with it. What actually needs to change is:
- The resting length of the soleus and Achilles tendon, shortened over years by an elevated heel.
- The strike pattern, shifting from heel strike to midfoot/forefoot.
- The foot’s intrinsic musculature, weakened by years of arch support and cushioning.
None of these adapt in a couple of weeks. The protocol has three phases with concrete shoes for each one, not just a list of “good shoes to start with.”
Phase 0: baseline check (where you’re starting from)
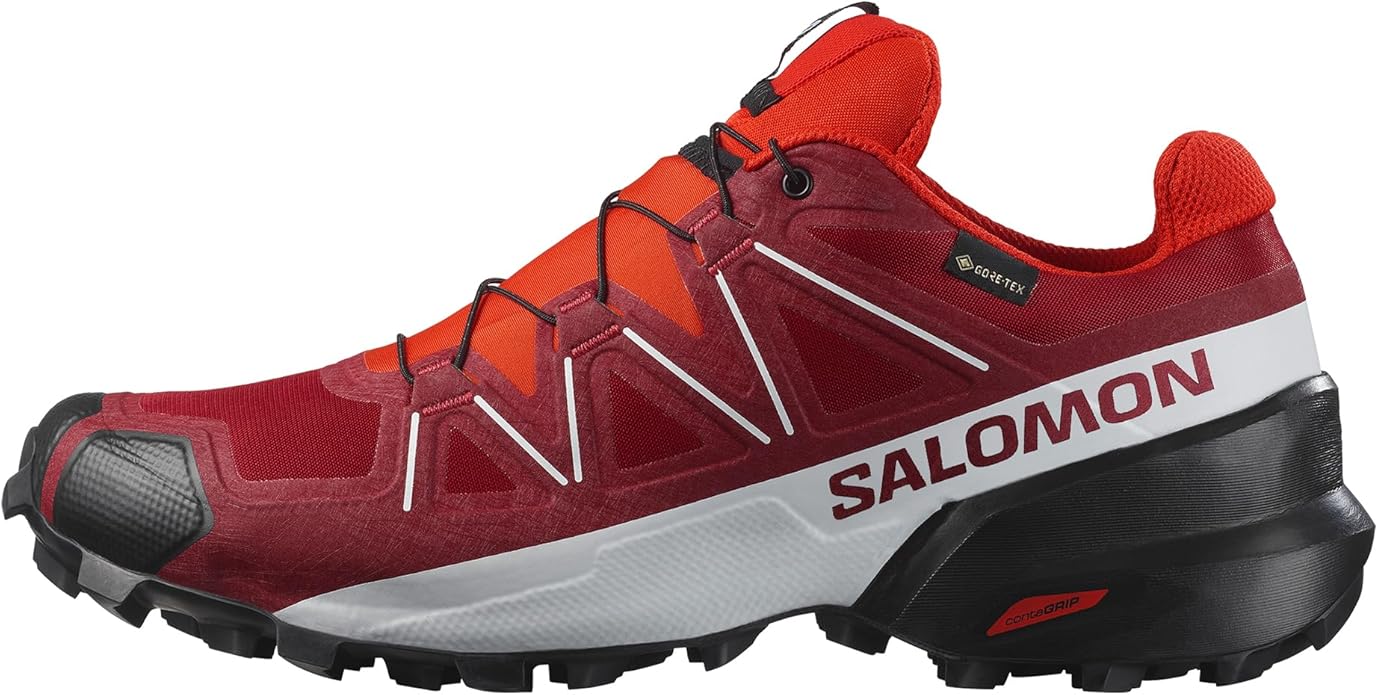
Before buying anything, identify your real starting point. Most runners come from 8-10mm drop shoes, like a Salomon Speedcross 6 (10mm drop) or a Brooks Cascadia (8mm drop). No need to change shoes at this stage: it’s a diagnosis, not a purchase.
Note two things before starting the protocol:
- Your usual strike pattern: if you land hard on your heel, phase 1 will be harder.
- Any history of soleus, Achilles or plantar fascia issues: if you’ve had trouble there before, add one or two extra weeks to each phase.
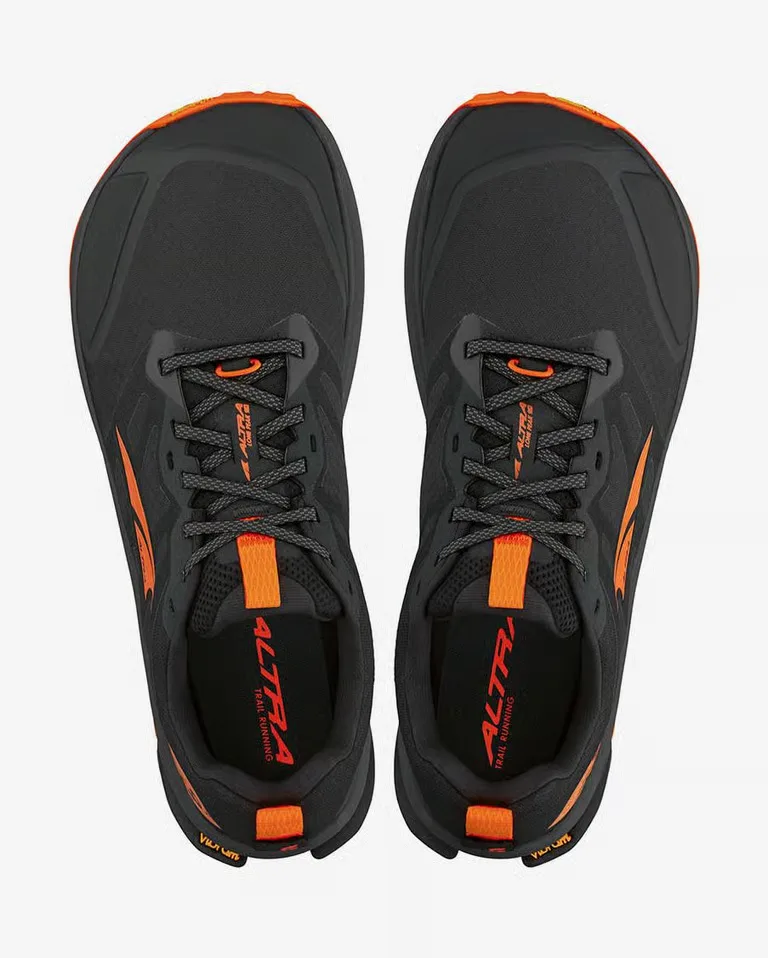
Phase 1: cushioned zero drop (weeks 1-4)
Here you’re not removing cushioning, just the drop. It’s the step almost everyone skips, and the one that prevents most injuries.
Week 1: 2-3 runs of 5-8 km on easy terrain (road or packed dirt track). Comfortable pace, no chasing times. The goal is for the soleus and calf to start working without the help of an elevated heel.
Week 2: move up to 3 runs, one of them up to 10 km. Start adding gentle hills to accustom the Achilles tendon to working through its full range.
Weeks 3-4: hold the volume or increase it by a maximum of 10% per week. Add specific strength work twice a week:
- Straight-knee heel raises (calf): 3 sets of 15-20.
- Bent-knee heel raises (soleus): 3 sets of 15-20.
- Towel-scrunch toe exercises to activate the foot’s intrinsic muscles.
STOP signs at this stage: sharp Achilles pain when getting out of bed, heel discomfort on the first steps in the morning (possible plantar fasciitis), or pain on the inner shin at the end of a run (possible shin splints). If any of these show up, cut volume in half the following week and don’t move to phase 2 until it’s gone at rest.
Don’t move to phase 2 without at least 4 pain-free weeks in phase 1, even if you feel ready to speed things up.
Phase 2: full barefoot (weeks 5-8)
Cushioning disappears here. You’ll feel every rock, every root. Your foot needs to be prepared by the strength work from the previous phase.
There are several options within full barefoot, and they’re not interchangeable:
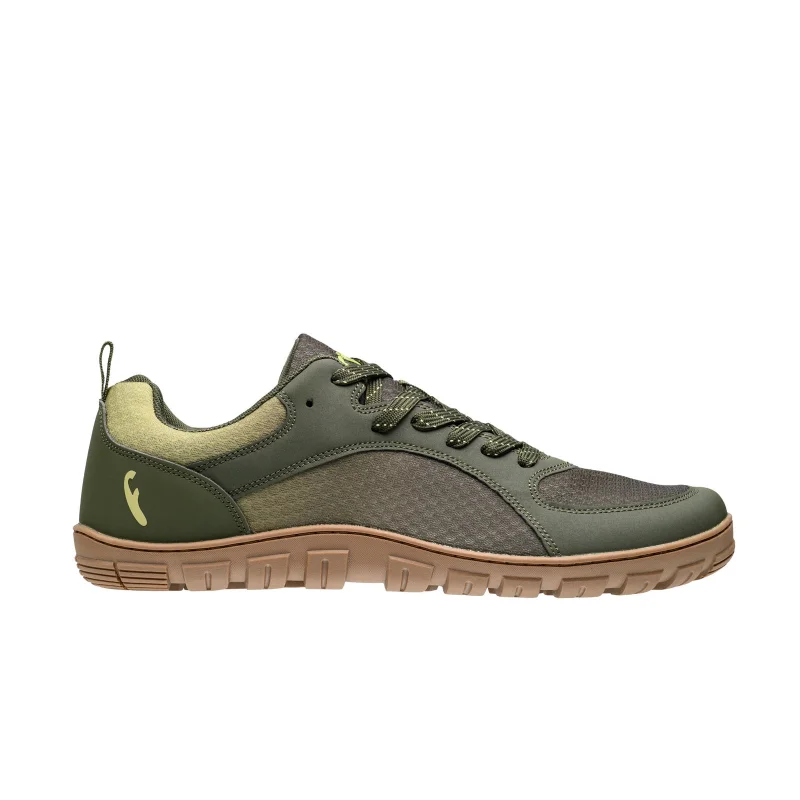
Freet Feldom 3 — the most versatile for trail
Zero drop, 6mm stack, very wide last. My personal pick for the final jump: a good middle ground between full barefoot and real trail usability.
Xero Mesa Trail — a bit more protection within full barefoot
With its FeelSafe plate and a slightly higher stack (~8mm vs. 5-6mm on Freet or Vivobarefoot), it’s the option if you’re especially worried about loose rock in the first weeks of barefoot running.

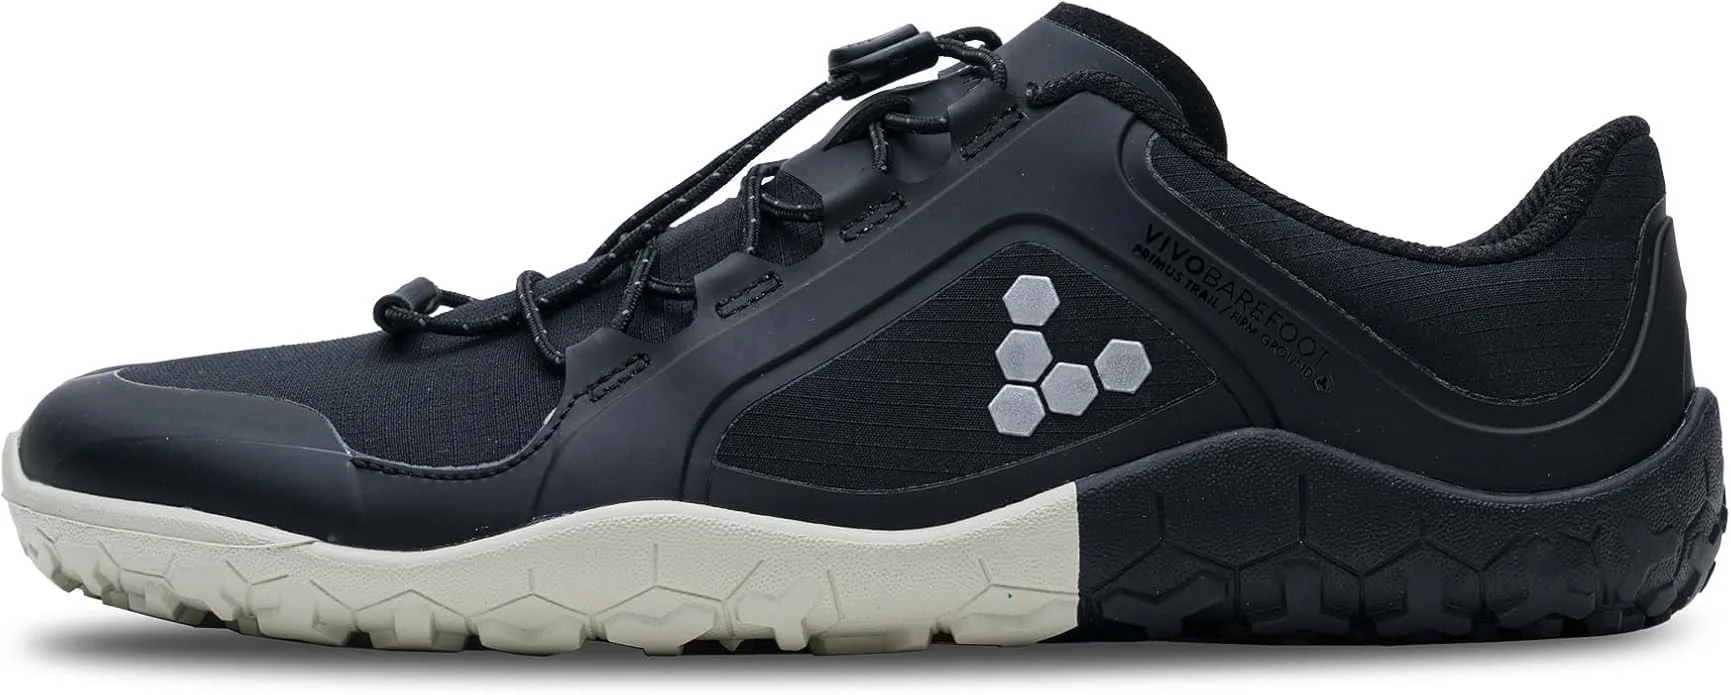
Vivobarefoot Primus Trail III — the premium reference
FG sole with pronounced lugs and a water-resistant upper. More expensive, but with the durability of the reference brand in barefoot footwear.
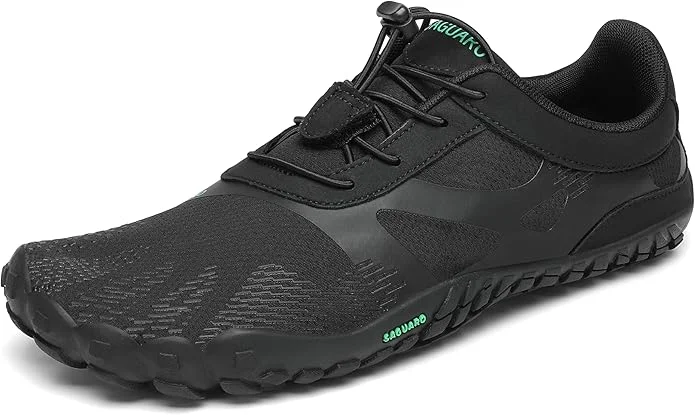
Saguaro Barefoot Trail — a budget entry point to try it out
If you don’t want to invest 100-150 € without knowing if barefoot is for you, this is the option to test the feel on easy terrain and at home before jumping to more technical models.
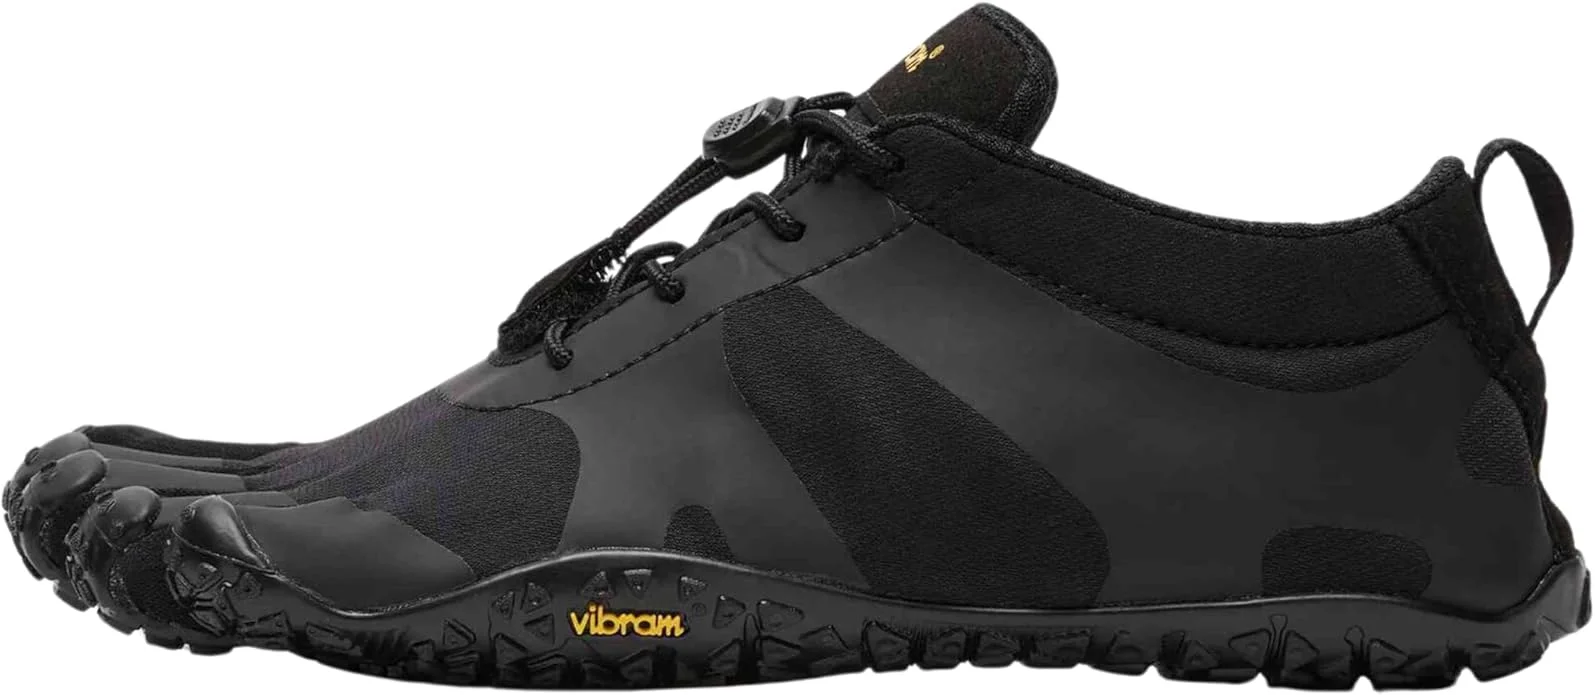
Vibram FiveFingers V-Trail 2 — the extreme, not the starting point
Individual toe pockets and maximum proprioception. I don’t recommend it as your first barefoot shoe: the learning curve is steep and sizing is tricky. It’s an option for later, once you’ve been adapted for months.
Week 5: a single 3-5 km run on easy terrain (packed dirt, road). No technical trail yet. It’s common to feel high soleus fatigue on the first day: that’s normal, as covered in the full-barefoot diary.
Week 6: two runs of 5-8 km, alternating with your phase 1 shoe for the longer sessions.
Weeks 7-8: up to three runs a week of 6-10 km. Start adding some easy trail (grass, dirt), avoiding technical rock and deep mud.
STOP signs: soleus overload that doesn’t ease off after 48 hours of rest, repeated blisters under the metatarsals (check your anti-chafe routine), or sharp pain on foot strike. If the soleus loads up but improves with rest, that’s normal adaptation; if it worsens run after run, go back to phase 1 for two weeks.
For the day-by-day detail of this phase — sensations, risks, and complementary gear (toe socks, anti-chafe, blister patches) — you have the full breakdown in transitioning from cushioned natural footwear to full barefoot.
Phase 3: full integration (month 3 onward)
- Your barefoot shoe becomes your main shoe for short and medium training runs.
- For very long runs or highly technical terrain, it still makes sense to use your phase 1 (cushioned zero drop) shoe as backup.
- Keep up foot strength work indefinitely, not just during the transition.
Real risks at each phase
- Soleus and Achilles tendon (phases 1 and 2): the number one risk. They work like a spring without the help of the drop. Slow progression and strength work are the only real prevention.
- Plantar fascia (phase 1 onward): without arch support, the fascia works at 100%. Walking barefoot at home helps prepare it before phase 1.
- Shin splints (phase 1): if you keep a heel-strike pattern with a low drop, the shin absorbs more impact than normal. It’s a sign your technique hasn’t changed yet.
- Metatarsal blisters (phase 2): the strike shifts to the forefoot. Anti-chafe balm and toe socks prevent most of them.
Checklist of mistakes to avoid
- ❌ Jumping straight from 10mm drop to full barefoot without going through phase 1.
- ❌ Increasing mileage by more than 10% a week at any phase.
- ❌ Ignoring soleus, Achilles or shin pain because “it’s just the adaptation.”
- ❌ Starting full barefoot on technical terrain, mud or loose rock.
- ❌ Choosing the Vibram FiveFingers as your first barefoot shoe.
- ❌ Comparing your adaptation pace to another runner’s. Every foot has its own timeline.
Verdict
The full journey, from 10mm drop to full barefoot, takes 2 to 3 months when done properly. Trying to shortcut it doesn’t save time: it costs more, because an injury takes you out of the protocol for weeks. Respect the phases, listen to the STOP signs, and your foot will come out stronger than it started.
If you want to dig deeper into cushioned natural footwear as an intermediate step, read our Altra Lone Peak 9 review after 500 km.